To use mail handlers and process your incoming emails to create or modify issues, first, the Incoming Mail Connections should be configured. Due to security reasons, the Email This Issue addon can not access the mail servers in Jira itself, so mail accounts should be configured within Email This Issue's Administration interface.

The statuses indicate the following:
- Green: The connection is successful, the mail handler is connected and is working.
- Red: The connection is unsuccessful, emails are not downloaded via this connection due to some error. For more information, please check the Protocol log.
- Yellow: Emails are not downloaded via this connection as it is not used in any enabled mail handlers.
- Question mark: Before the first fetching, the status is not yet determined. This icon will change one the first fetch is done.
Click on the Add button to create a new Incoming Mail Connection. The Add Incoming Mail Connection dialog is shown.
Email This Issue supports login and OAuth authentication mechanisms for Incoming Mail Connections. You can select it by selecting the correct protocol:
- POP3, IMAP: log in with username and password
- OAuth2 for Gmail/Gsuite
- OAuth2 for Microsoft 365
The content of the dialog changes based on the authentication method you select.
In case of an unsuccessful connection in the Incoming Mail Connection, the status becomes red and a protocol log becomes available:
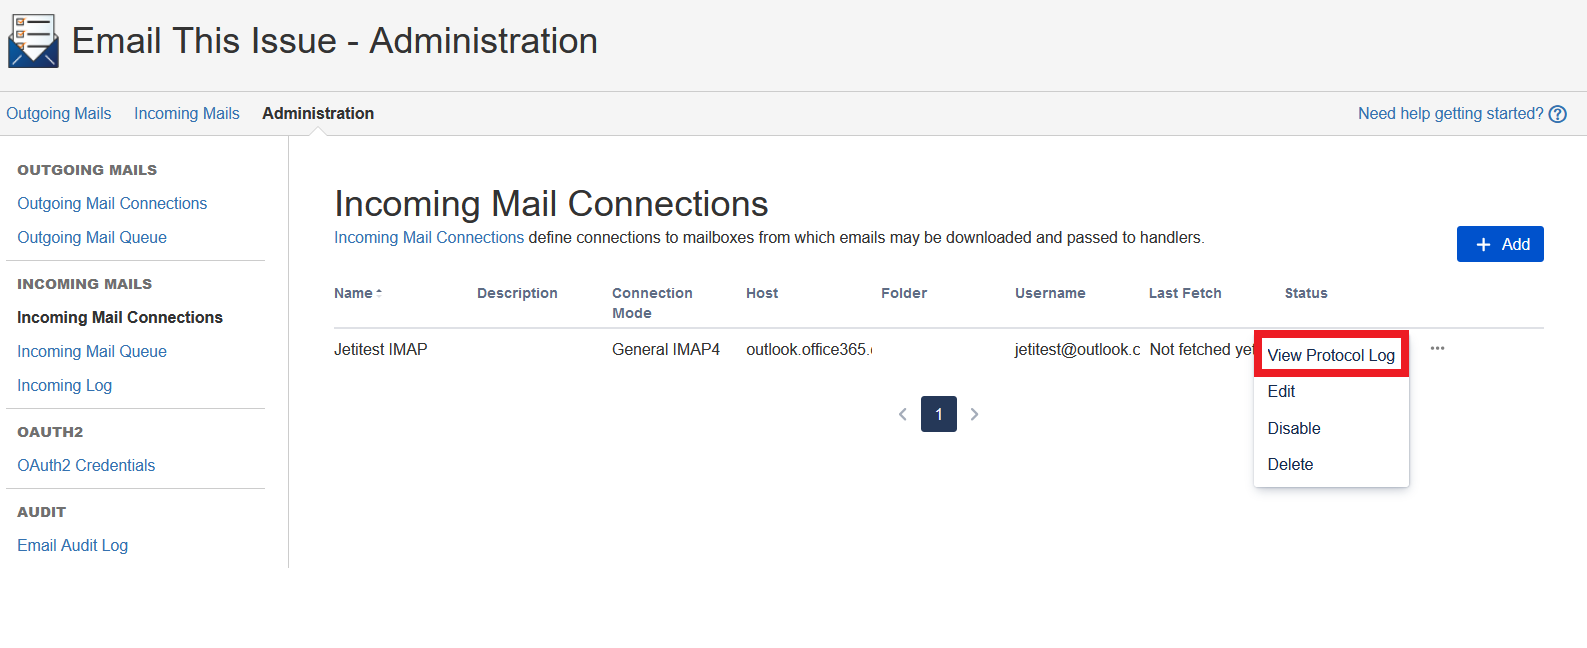
The Protocol Log is displayed only when the status is red (indicating a problem with the connection) and it contains information about the errors that occurred during fetching e.g. authentication failed, wrong hostname etc.
Login
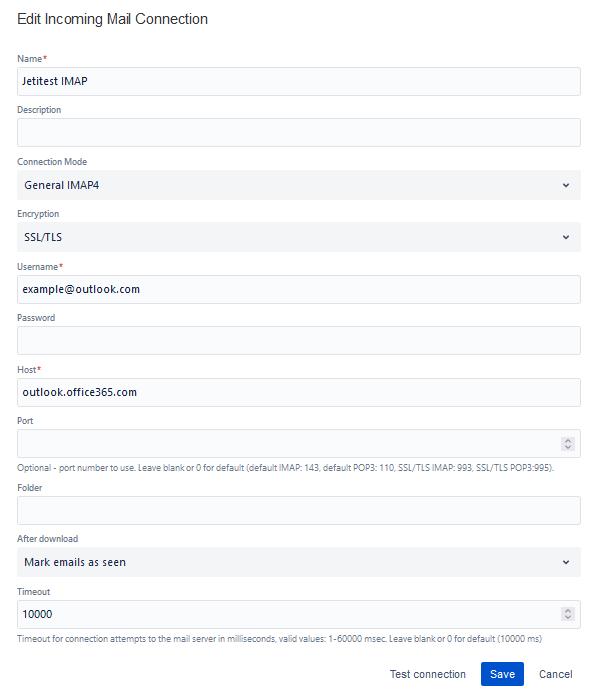
Currently Email This Issue does not delete processed emails and only the Inbox folder can be processed. Before saving the Incoming Mail Connection, please use the "Test Connection" button to check if Email This Issue is able to connect to your mailbox.
After creating Mail Accounts, go to Mail Handlers to configure the actions that should be executed when processing new emails
OAuth 2.0 Settings
OAuth authentication is currently supported for both Google and Microsoft 365 accounts.
If you want to use OAuth 2.0 authentication, select this option with the appropriate protocol. A new dropdown list and button will appear below the protocol selector.
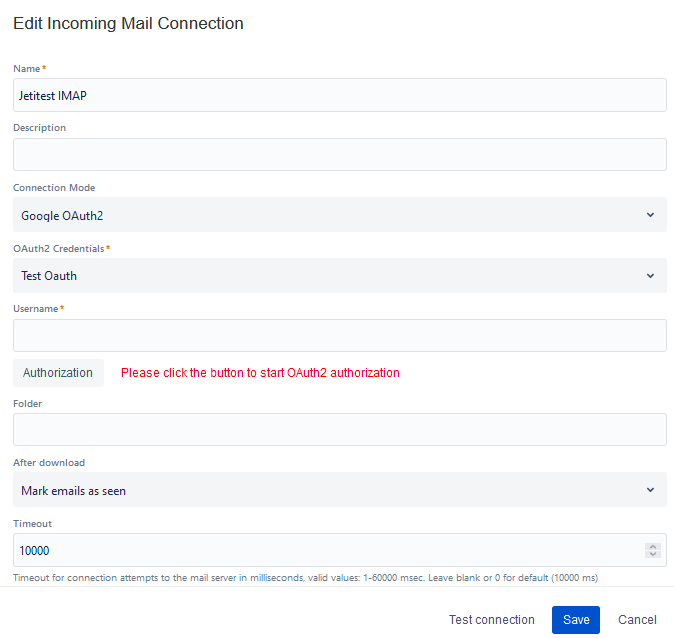
OAuth 2.0 Settings for Google
- Select the Client Credentials you created on the credentials page
- Enter the user name to the mail account you want to use
- Click on the "Authorize with Google" button to grant access to Email This Issue to fetch emails from your account
- In the dialog select the account which belongs to the email address you use for login:
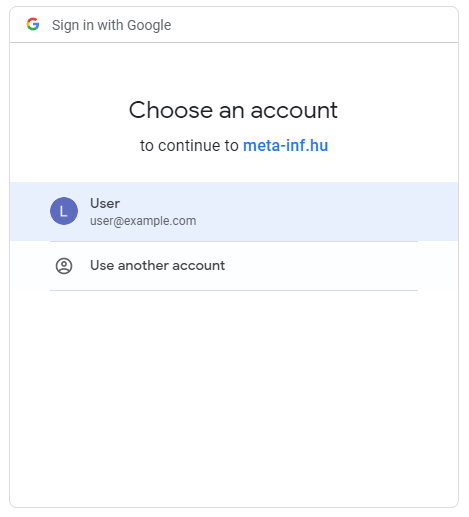
If you have multiple Google accounts select the one which's email matches the username in the Mail Account dialog. Emails will be fetched from that account - If you get this warning, click Advanced
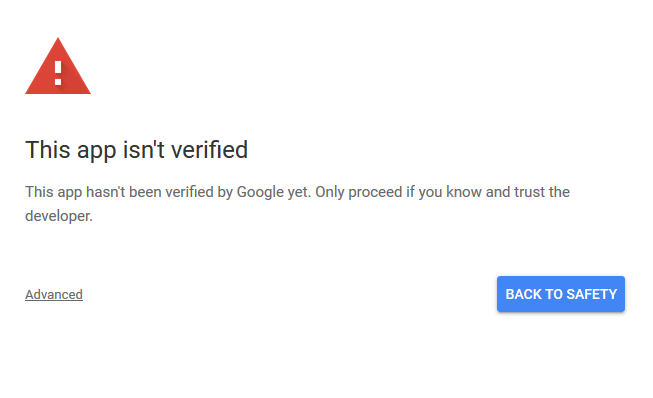
and then "Go to meta-inf.hu (unsafe)":
- Confirm your choice:
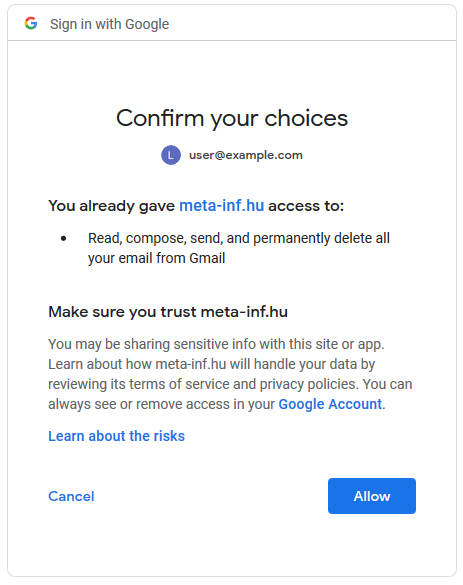
Click "Allow"
Now you can receive emails in Email This Issue from Gsuite with OAuth Authentication.
If you want to revoke the access from Email This Issue to your Gmail account, you can do this the by visiting Account Settings
Gsuite warning
Please note that starting from 2020 June 15, Less Secure Apps will not be supported in GSuite:
Authentication should be done using OAuth2